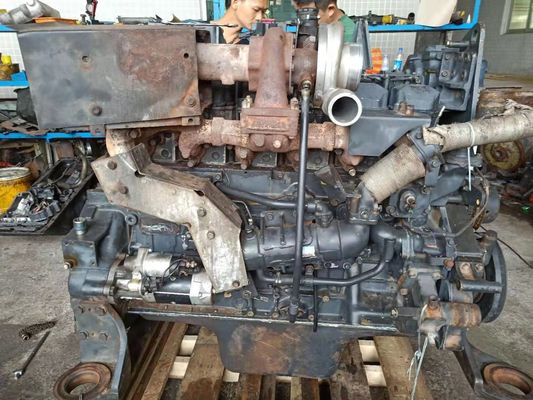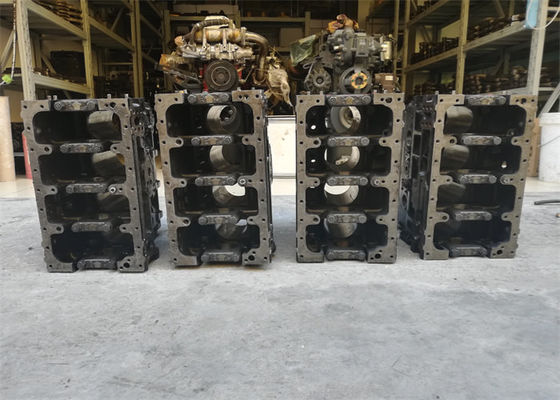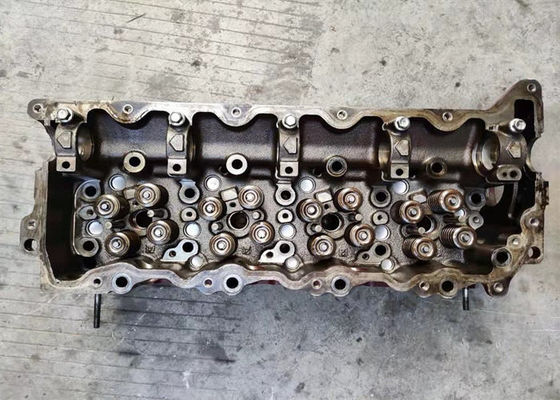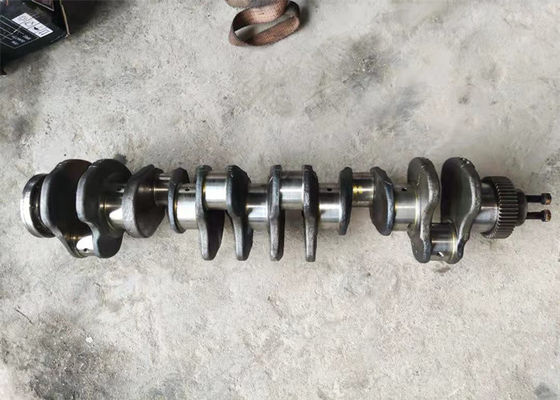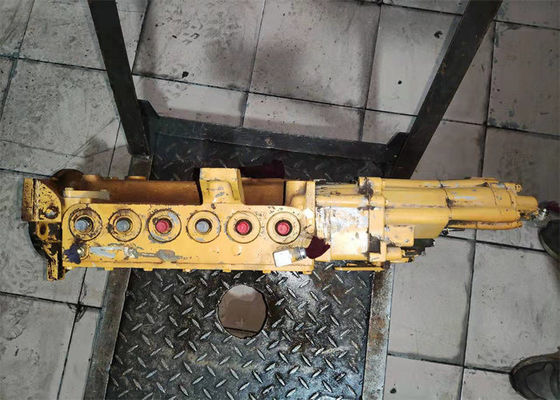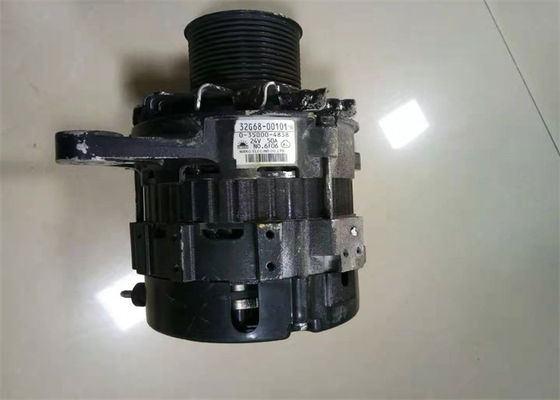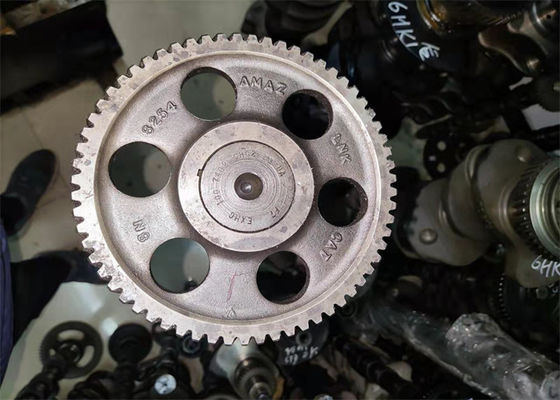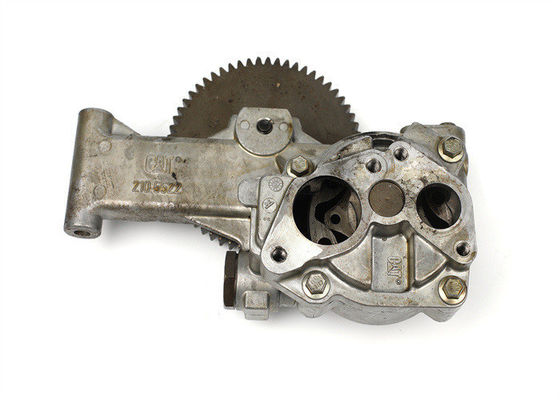
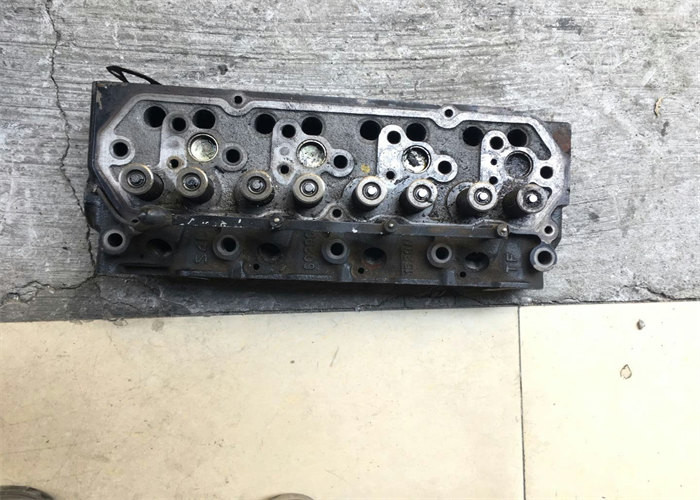
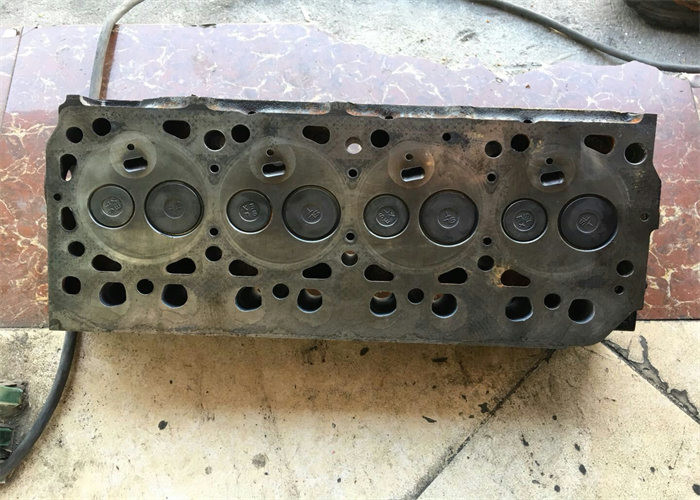
S4L S4L2 Diesel Used Engine Heads For Excavator E304CR 31A01 - 15021
Specification
| Item: Engine cylinder head |
| Engine Type: Diesel |
| Application: Excavator |
| Injection: Eddy |
| valve: 8 valve |
| Cooling: Water Cooling |
| Number of Cylinders: 4 |
| Model: S4L |
| Type: Diesel engine |
Description
How to Remove Cylinder Head Bolts
Removing the head is a major step in removing the cylinder head. These head bolts hold the cylinder head to the engine block. The head bolts are long bolts that go through the cylinder head and head gasket and when torqued properly create a seal between all 3 components. This seal allows compression to build in the cylinders and the engine to fire.
Cylinder heads come in many different configurations that each have their own specific steps to remove. There are two types of removal: head bolts from a pushrod style motor and the overhead cam style engine. Each one has differences but the tools used will be similar and the precautions the same. If the situation feels uncomfortable or is on an advanced engine, please consider consulting a qualified mechanic.
Part 1 of 3: Getting to the head bolts
Materials Needed
Eye protection
Gloves
Oil and coolant drain
Parts cleaner or brake cleaner
Shop rags
Socket set and ratchet
Step 1: Drain the oil and coolant. Put on your eye protection and gloves and drain the oil from the vehicle.
Make sure the vehicle can not be started by removing the negative cable from the battery. Next the coolant will need to be drained so it does not leak when the head bolts are loosened.
Step 2: Clean valve cover. Use some of the parts cleaner or brake cleaner to clean up the valve cover and as much of the cylinder head as is reasonable.
Step 3: Remove valve cover. If necessary, remove other components to make the valve covers accessible, and start removing the bolts from the valve cover.
Once all bolts are removed carefully removed the valve cover from the cylinder head. If any valve cover gasket material remains, remove it at this time and clean any excess oil from the edges. Set the valve cover aside carefully as it will be reused with a new gasket once repairs are completed.
![]()
![]()
![]()